- Published on
- View count
- 13159 views
How to install Next.js in Ubuntu 22.04
- Authors

- Name
- Francisco Moretti
- @franmoretti_
Are you looking to start building web applications with Next.js on Ubuntu? You're in the right place! This tutorial will guide you through the step-by-step process of setting up and running Next.js on your Ubuntu 22.04 distribution.
Before we get started, if you're running Windows, check out the post on How to Install Next.js in Windows Using WSL2. Now, let's dive into the installation process.
Step 1: Set up NVM in Ubuntu
First things first, we need to set up Node with its version manager. Open up the Ubuntu bash tab and paste in the following commands:
sudo apt update
sudo apt upgrade -y

## Install nvm and node
## nvm
curl -o- https://raw.githubusercontent.com/nvm-sh/nvm/v0.39.1/install.sh | bashClose and reopen your terminal to start using NVM and then run the following command:
nvm install --ltsWith these commands, you'll have Node and its version manager (nvm) set up in your Ubuntu distribution.
Step 2: Create a Next.js App
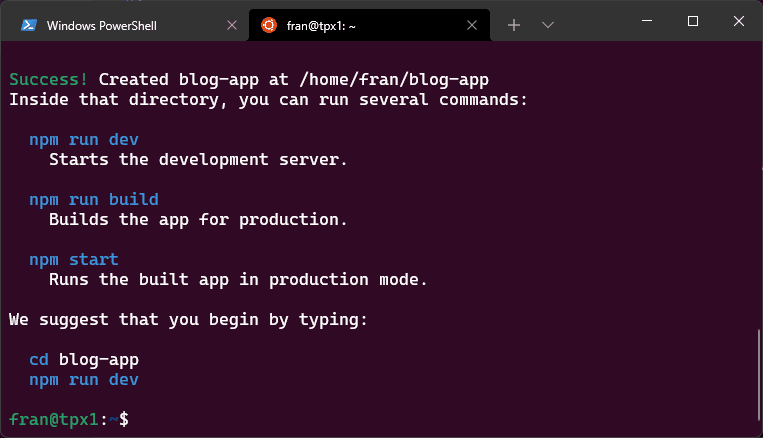
Now that we have Node set up, let's create a new Next.js application to test if everything is working correctly. To create a new application named blog-app, run the following command in the Ubuntu bash session:
npx create-next-app@latest blog-appThis command will automatically install the create-next-app package for you. Once it's done, you should see a message confirming that the installation was successful.

Step 3: Install VS Code (optional)
If you don't have VS Code installed yet, you can download it from the official website following the Visual Studio Code on Linux Installation guide. Once installed, you can proceed to the next step.
Step 4: Open the App in VS Code
Now, let's open the blog-app folder in VS Code. Run the following command:
code blog-appThis will install the VS Code remote server and open the blog-app folder directly in VS Code on Windows. You'll notice the WSL:Ubuntu label at the bottom left corner, indicating that VS Code is connected to the Ubuntu distribution.
Step 5: Running the App
Now, it's time to run the app! Open up the VS Code terminal by pressing ctrl + ` , and install the dependencies by running:
npm iOnce the dependencies are installed, start the server by running:
npm run devYour VS Code terminal should indicate that the application is running, and you can access it at http://localhost:3000/ on your browser.
Congratulations! You've successfully installed and run Next.js on your Ubuntu distribution.
Conclusion
Setting up and running Next.js in Ubuntu is a straightforward process, as you've seen in this tutorial. By following these steps, you're now ready to start building your own Next.js applications in Ubuntu 22.04. Happy coding!